Texture Tutorial - Creating an Instagram Post in Photoshop
Huge thanks to Ana’s Fonts for providing this Free Texture Sample Pack!
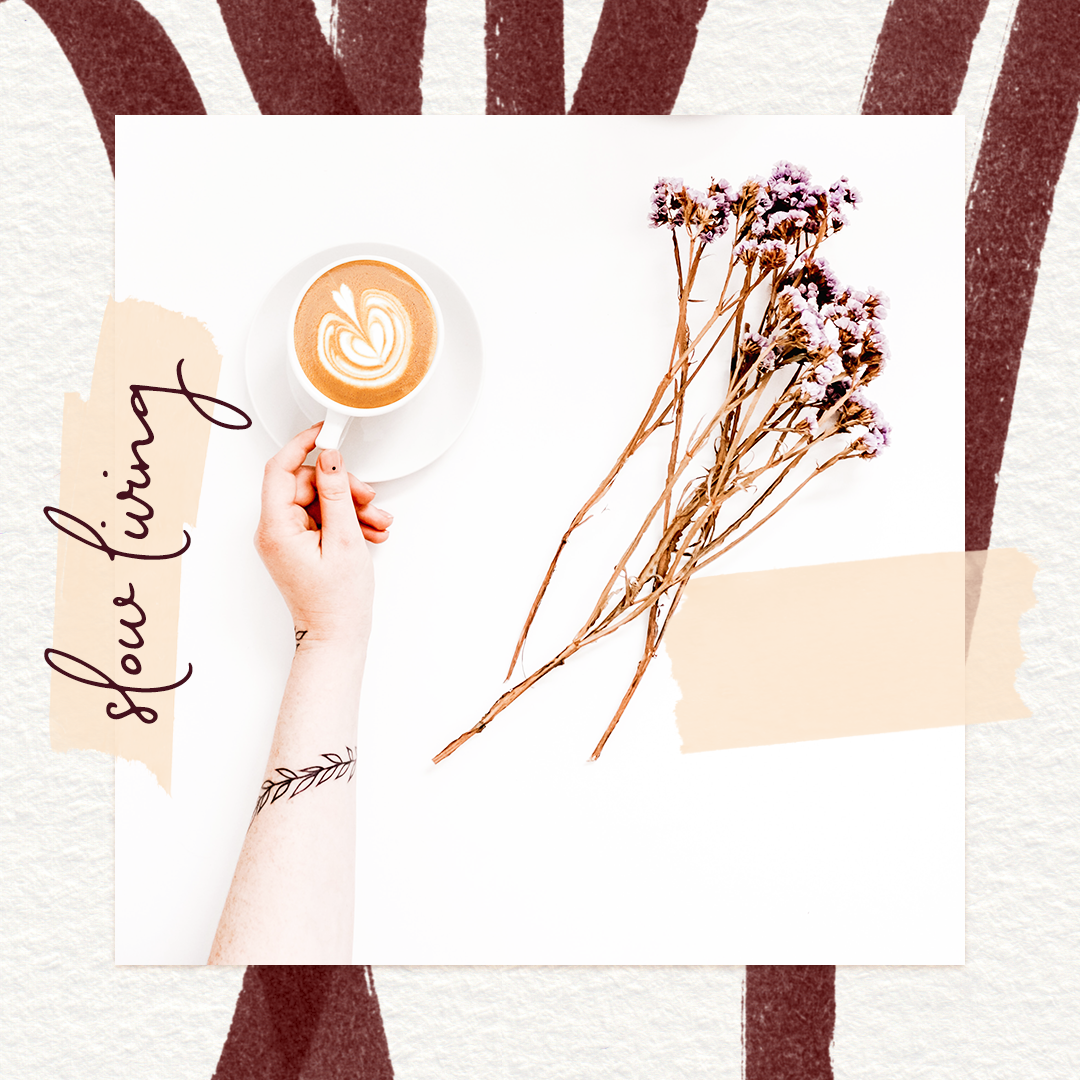
To help you get started she’s provided a quick tutorial on using a couple textures to create a unique Instagram post. Follow along with the steps and create your own!

Start with a 1080 x 1080 px white canvas and fill it the texture “sp2.png”. To do this, open the image file and go to Edit >> Define Pattern >> OK. Then on your white canvas, go to Edit >> Fill >> Contents: Pattern >> Custom Pattern and select the pattern you have just defined.

Then add a squiggle brush stamp in a color taken from the photo you want to use (or not, this is up to you). To do this, start by opening squiggle “23.png”. Then go to File > Define Brush Preset. Choose a color and select the Brush tool and then select the brush we have just defined. Then Create a new layer and stamp the brush.

(optional step) In my case, I think vertical lines work better with the photo, so I rotate the brush and flip it horizontally.

Add the photo you want to showcase to the center of the design. In my case I use this beautiful photo by Nicole Honeywill that I found on Unsplash. I resized it and cropped it it to 500x500 px and dropped it in the center of the canvas.

To add a little depth to the design, add a drop shadow. You can do so by selecting the layer that has the photo, right-clicking it and going to Blending Options >> Drop Shadow.

(optional) Adjust the Brightness and contrast of the image. Go to Layer >> New Adjustment Layer >> Brightness/ Contrast and play around with the settings to see what suits your photo better. I also added a Vibrance layer to bring out the colors (Layer >> New Adjustment Layer >> Vibrance).

Add some tape. Open the “wt7.png” and “wt8.png” and define them as brushes. Select a color (again I picked a color from the photo), adjust the size of the brush (these are sized down to around 500 px) and stamp away in a new layer. This will allow you to play around with the position and orientation of the tape to suit your design.

Add some text. Select a font and type away. Here I used Popless (https://creativemarket.com/justlikethistrain/2858972-Popless-a-font-duo) in the same color as the squiggles.

Finish with a little texture. Open the file “sp2.png” and set it as a pattern. Create a new layer and fill it with the newly created pattern. Invert the color and set it to Screen.
And this is your final product!
Thanks to creator Ana Parracho from Ana’s Fonts for this guest post & amazing Free Texture Sample Pack
Leave a comment